
In this article we provide a detailed "Create Campaign" instruction for OnClickA's self-serve ad network platform.
Welcome to OnClickA academy - the place where all your questions will be answered. Let us start with the campaign creation process. Here's a detailed "Create Campaign" instruction for OnClickA's self-serve ad network platform.
Instruction
Step 1
Sign Up

Go to the OnClickA website and sign up for a personal or your company’s account. Provide the required information and complete the registration process. Once registered, log in to your account.
Step 2
Find the "Add Funds" section and top up your balance.
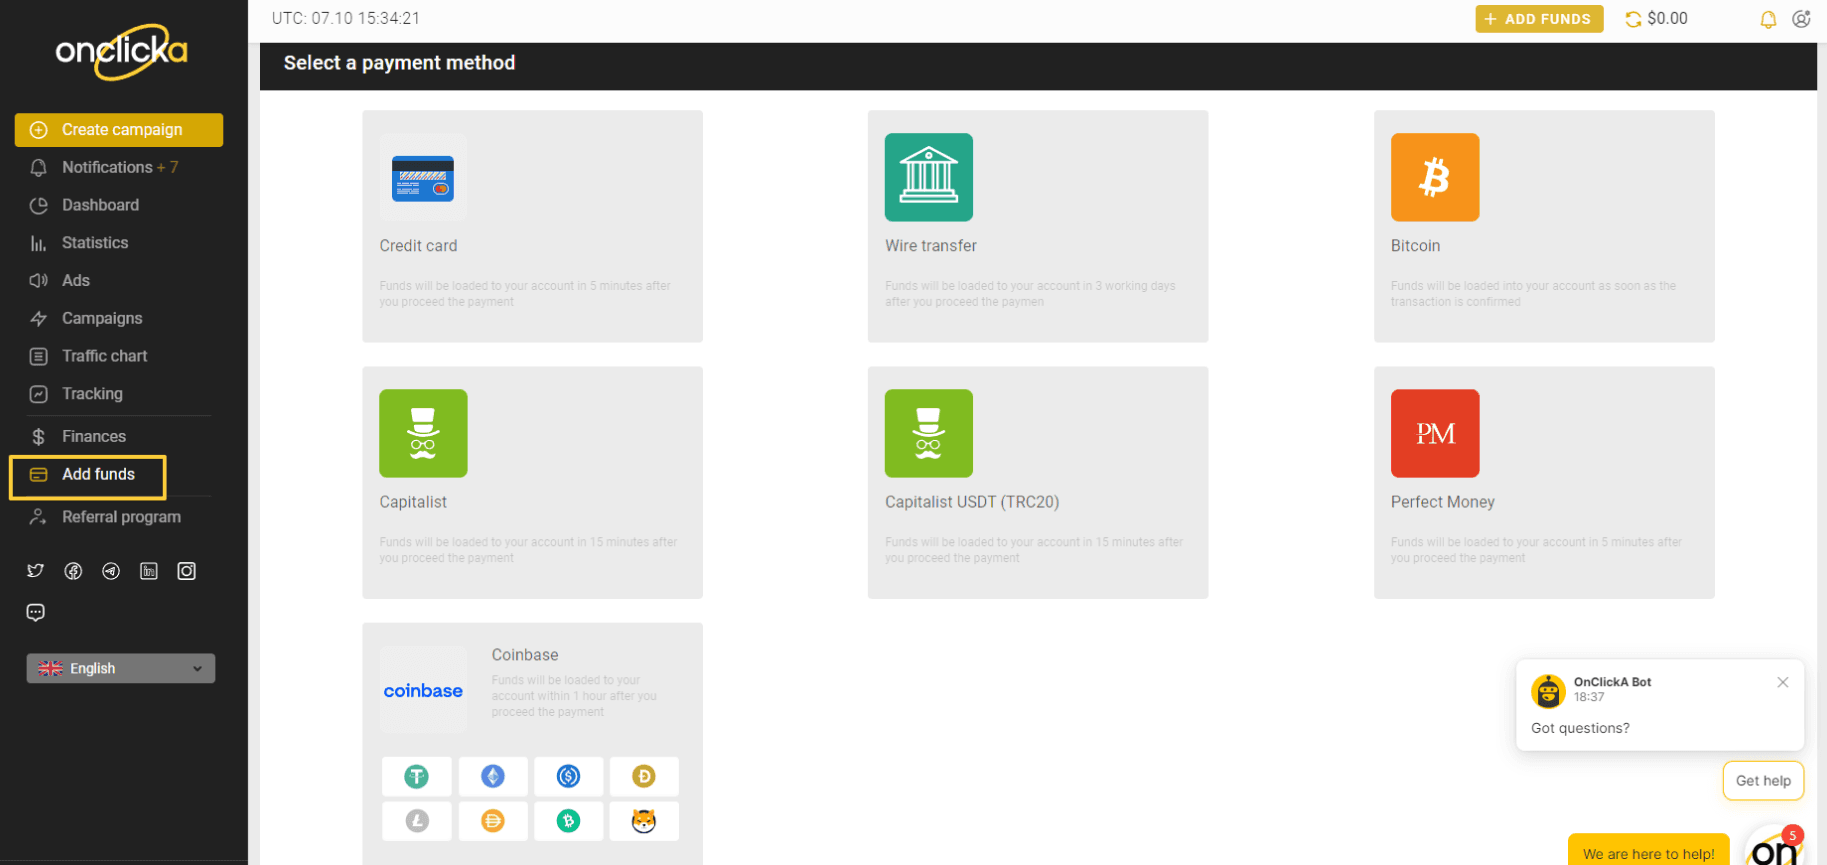
On the payment page, you will see a list of available payment methods. These include credit card, crypto, capitalist, bank transfers, etc. Choose the payment method that is most convenient for you by clicking on the corresponding option.
Step 3
In Your Personal Account, Press "Create Campaign"
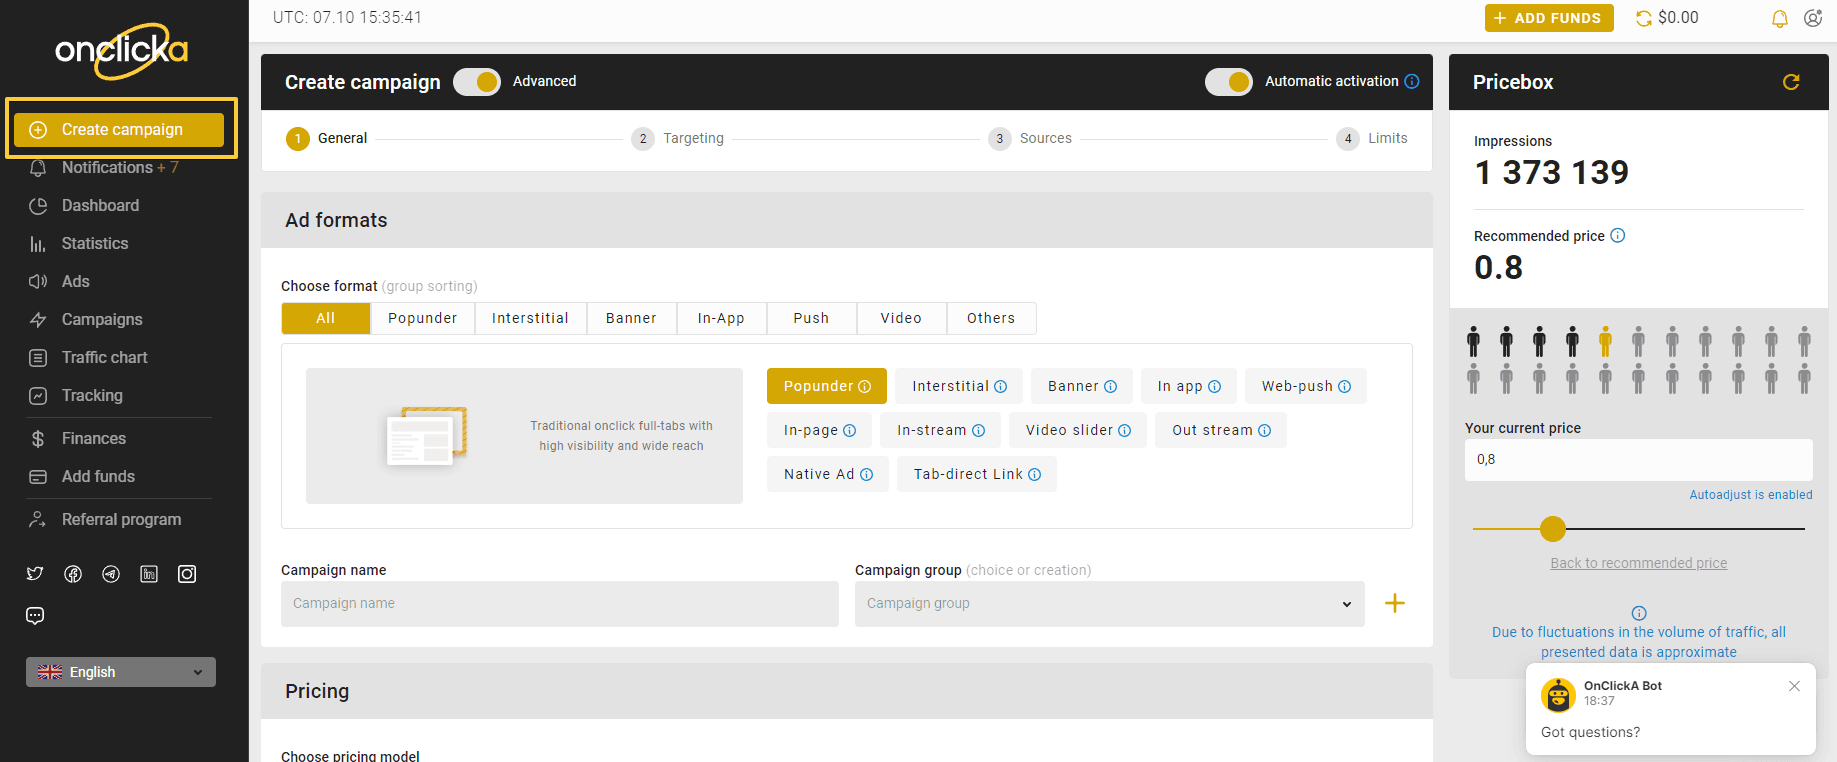
After logging in, you will be redirected to your personal account dashboard. Look for the "Create Campaign" button, located on the left side of the page. Click on it to start the campaign creation process. Name your campaign.
Step 4
Choose the Ad Format
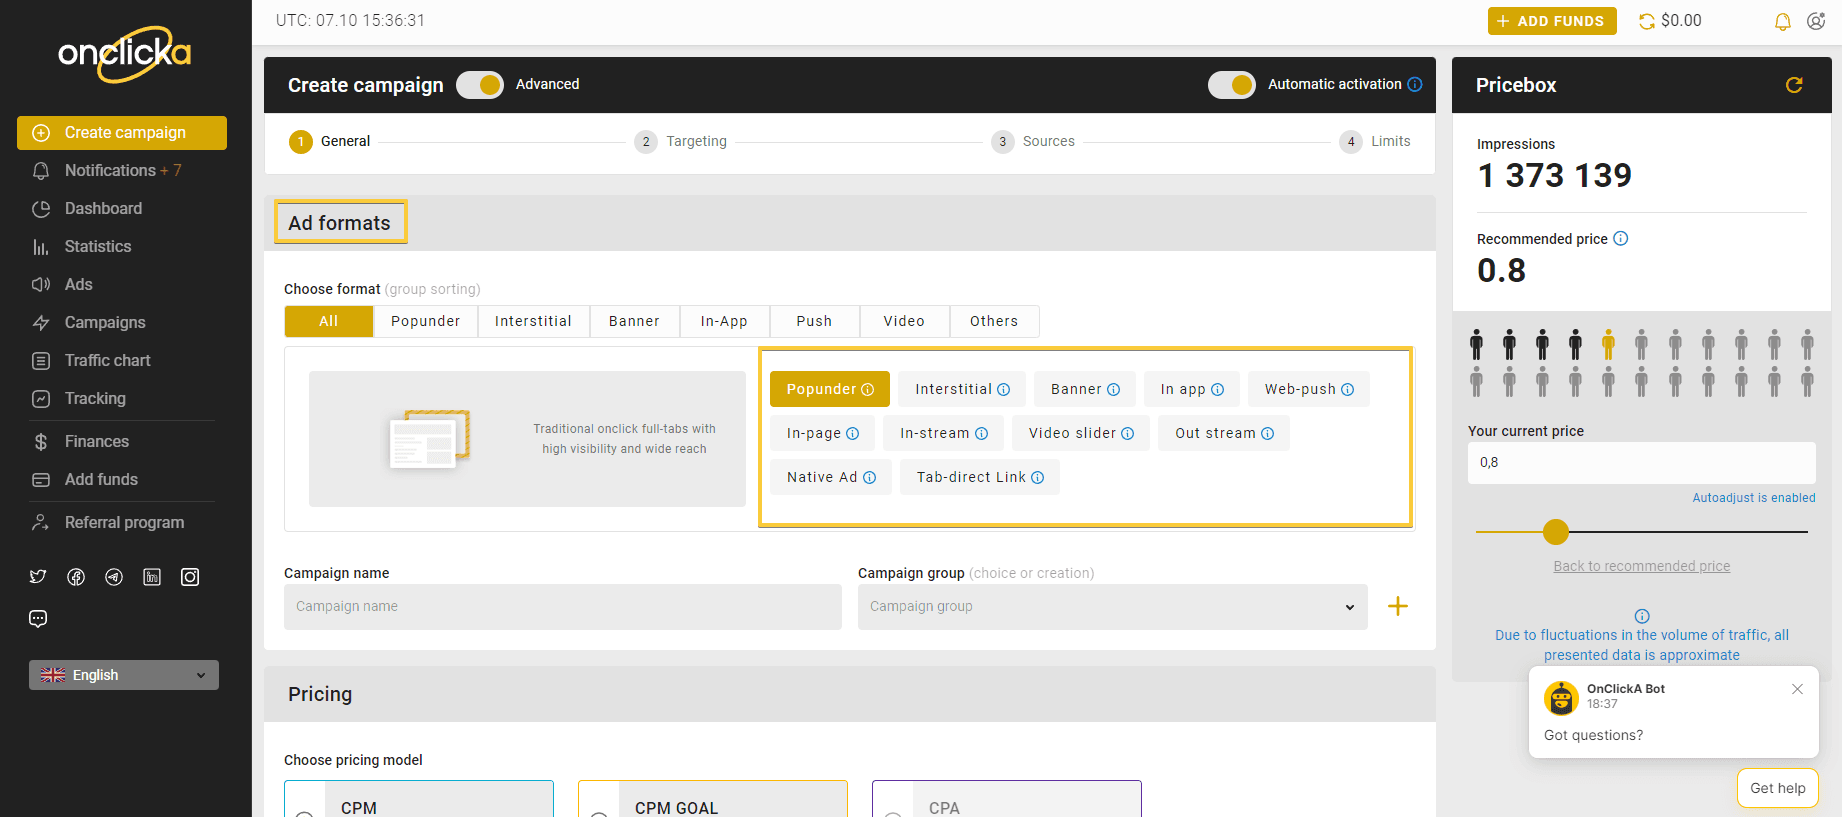
In the campaign creation interface, you will be presented with various ad format options. Select the ad format that aligns with your advertising goals and the type of content you wish to promote. Choose from options such as in-page or web push notifications, in-stream, banner ads, pop-up ads, etc. Consider the characteristics and benefits of each format and select the most suitable one for your campaign.
Please note that for some ad formats it is required to upload the creatives. Once the creatives are uploaded and you are done with campaign settings it will go to moderation. Find more details in steps below.
Step 5
Choose the Pricing Model

Next, you will be prompted to choose a pricing model for your campaign. Options vary depending on the ad format. They generally include Cost Per Click (CPC) and Cost Per Mille/Thousand Impressions (CPM). Assess your campaign objectives, budget, and desired outcome to determine the most appropriate pricing model for your campaign.
Step 6
Upload Creatives

Go to “Ad selection” section and create new one. You can also select the ad creatives if you uploaded them before. To make your campaign visually appealing and engaging, upload the creatives you have prepared. These may include banner images, video ads, text ads, or any other creative elements required for the selected ad format. Ensure that your creatives comply with the platform's guidelines and specifications regarding file formats, sizes, and quality.
Step 7
Choose Categories (Optional)

Select relevant categories that best represent the nature and theme of your campaign if needed. Choose categories that resonate with your product or service to enhance targeting effectiveness or do not select any category to drive more traffic.
Step 8
Set Targets and Targeting Parameters
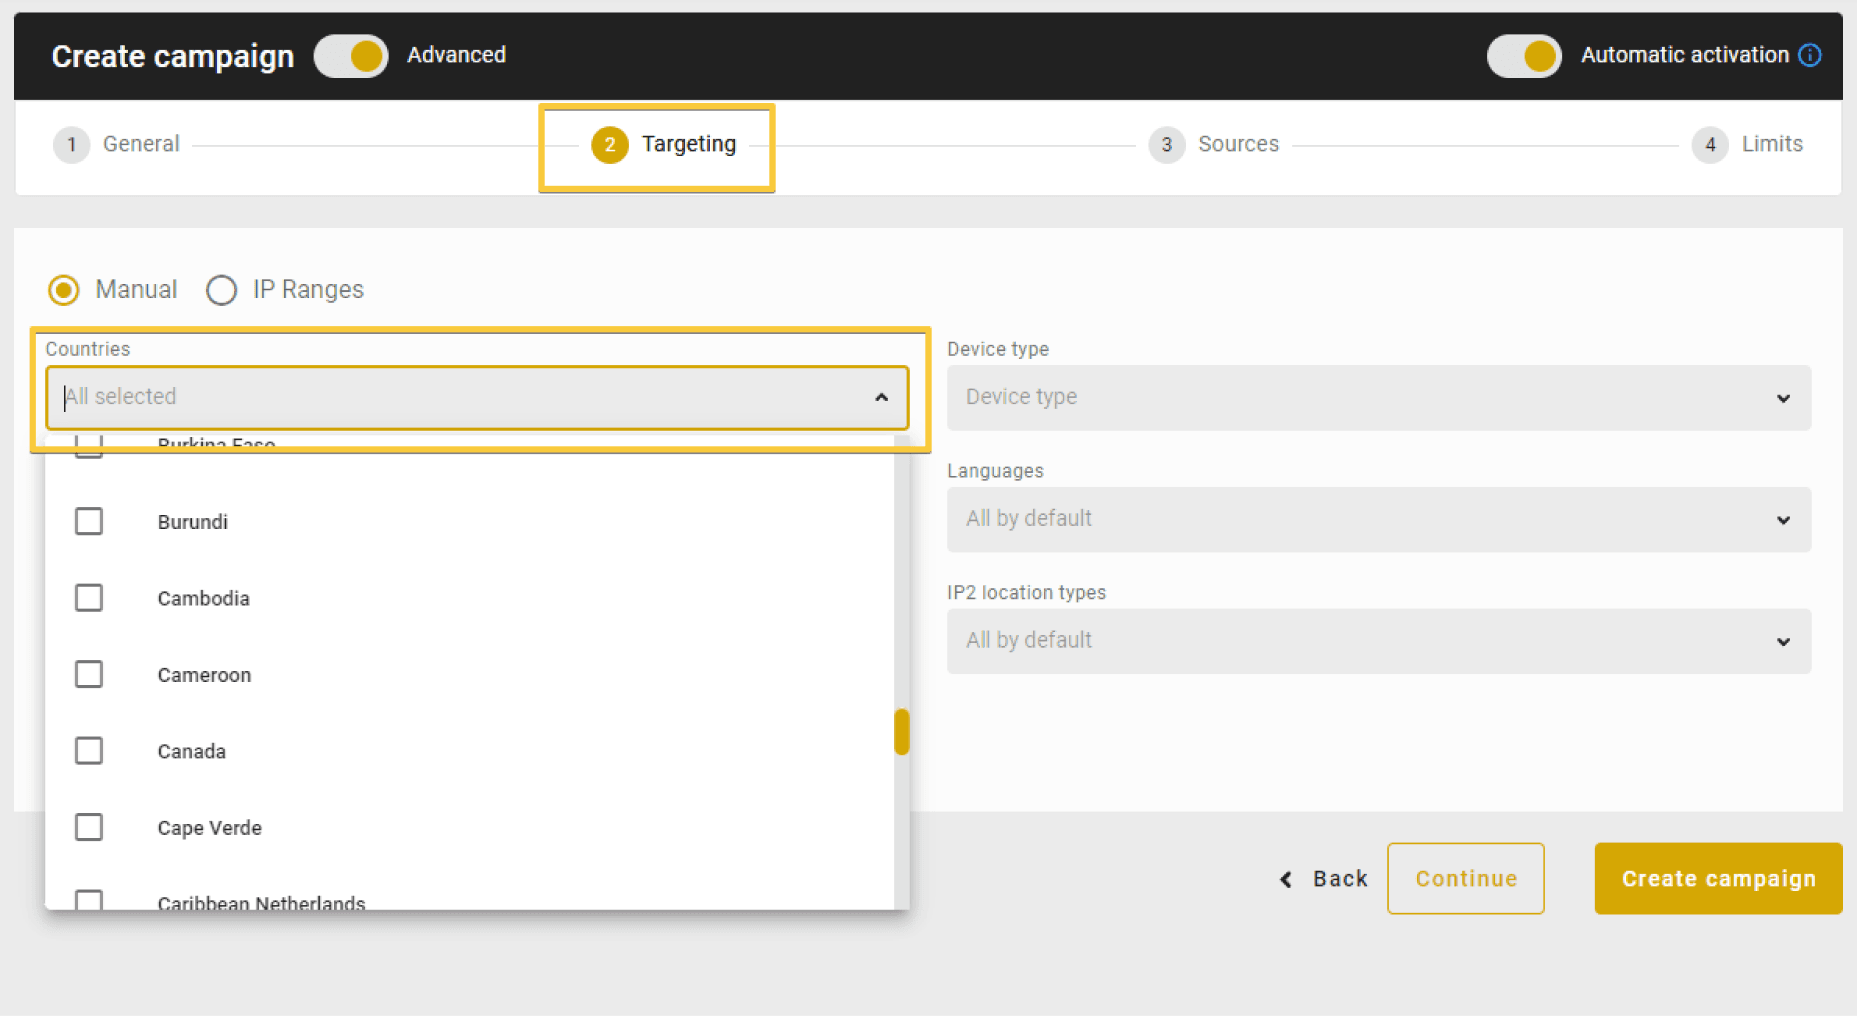
Define your campaign targets by specifying the desired geographic locations, languages, devices, and operating systems you want to target. This step lets you focus your campaign on specific regions or demographics most relevant to your offering. Focus primarily on GEOs. Other targeting settings are optional.
Step 9
Choose Sources if Necessary
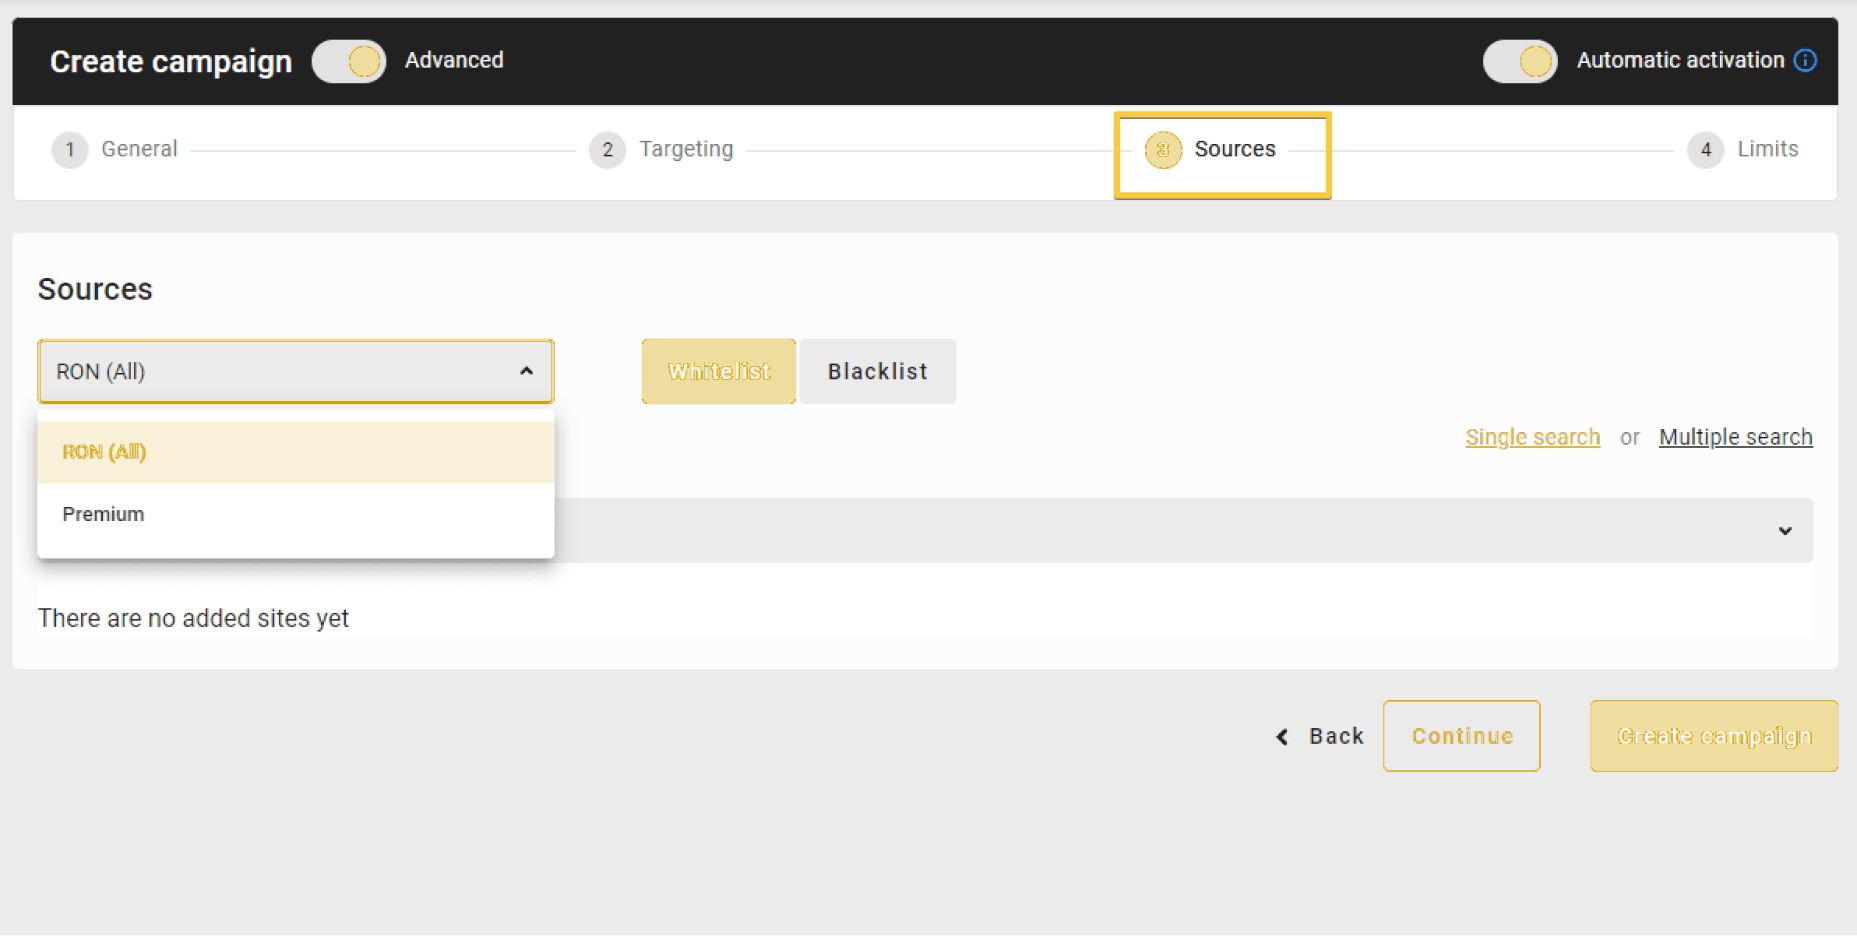
Select from available options or specify the sources you prefer for your campaign. This helps you tailor your ad placement strategy and target specific publishers or websites that align with your campaign objectives.
Step 10
Set the Limits (Optional)
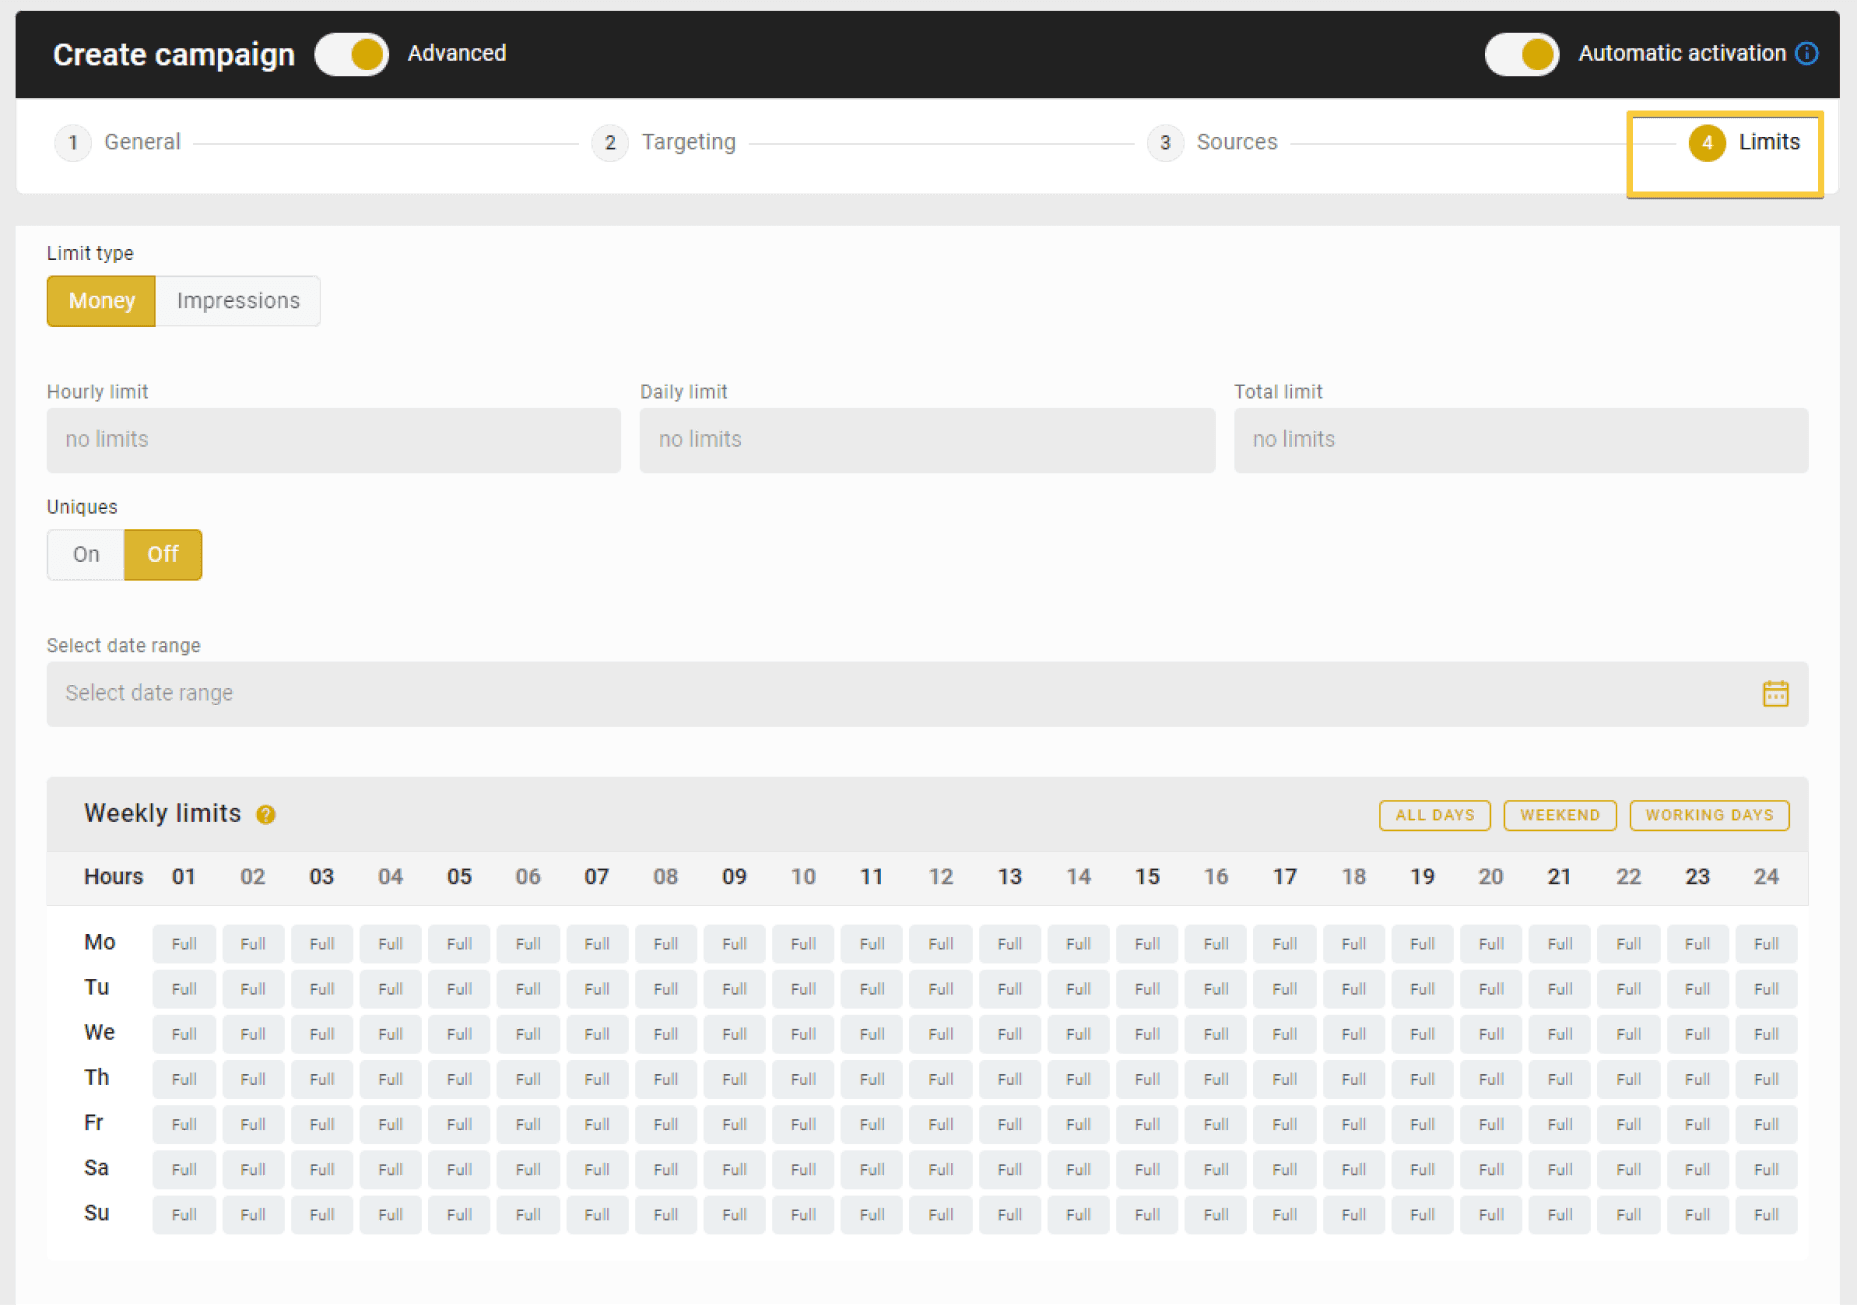
In this optional step, you can set limits for your campaign to control its budget, impressions, or clicks. By setting limits, you can manage your campaign's performance and ensure it stays within your predefined boundaries. Adjust the limits based on your budget and campaign objectives to achieve optimal results.
Why?
Each step in the campaign creation process serves a specific purpose to ensure a successful advertising campaign:
- Sign Up: Registration is necessary to access the platform's features and create campaigns securely.
- “Add funds”. It is more convenient to prepare everything ahead before starting a campaign not to waste time afterward.
- "Create Campaign": This button takes you to the campaign creation interface, where you can input all the necessary details.
- Ad Format: Choosing the appropriate ad format allows you to tailor your campaign to different placements and user experiences.
- Pricing Model: Selecting the suitable pricing model helps determine the cost structure and aligns with your campaign goals and budget.
- Upload Creatives: Uploading engaging and visually appealing creatives is crucial to capture the audience's attention and drive conversions.
- Choose Categories: Categorizing your campaign
Create your first campaign and drive relevant traffic today!